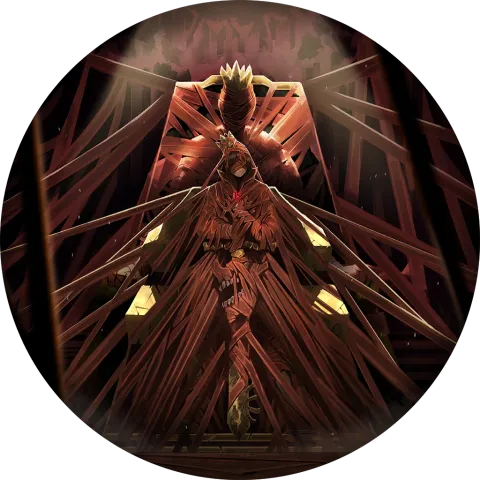
Use S2 or defense to discard S1 Wait Up! and cycle the dashboard, repeatedly using the higher-rank S2 Slice and S3 Daring Decision. She triggers many Tremor Bursts but relies on allies to apply the enemy's Tremor.
Core Mechanics
Discarding skills: On use, S2 and the Defense skill Hangover Cure discard the lowest-rank skill from all of her skill slots. On use, S3 discards all skills in descending order of rank (skills not used that turn). The Defense skill's discard happens on use, so it does not trigger unless she is attacked.
S1 Wait Up! pays off when discarded: When discarded, her Tremor Count increases by 4 (+3 at lower Uptie). S2 only grants 1 Offense Level Up when discarded, so keep it as her main skill.
Her own Tremor Count: +2 on using S1, and at 6 or more, S1 gains +2 Final Power (+1 at lower Uptie). Coin Ⅲ of S2 triggers Tremor Burst on hit if her own Tremor Count is 6 or more.
S3: On use, spends 10 of her own Tremor Count for +2 Coin Power (+1 at lower Uptie). Coin Ⅰ inflicts 4 Tremor (+3 Tremor Count if she spent), and Coins Ⅱ–Ⅳ trigger Tremor Burst 3 times (each followed by −1 target Tremor Count).
Combat passive — Drinking Boast (5 Sloth Owned; unlocked at Uptie Ⅱ): Each time she triggers Tremor Burst on an enemy, deals Sloth damage equal to 30% of the Stagger Threshold shift (up to 20, rounded down).
Support passive — Carrot & Stick (3 Sloth Owned; unlocked at Uptie Ⅲ): +1 to the Tremor Count that the 1 ally with the most Tremor Count gains from skill effects. It speeds up preparation for Identities that power up by spending their own Tremor Count (for example, Yi Sang's Effloresced E.G.O::Spicebush, whose S2 spends 6 of his own Tremor Count).
How to Use
When S1s line up on the panel, discard them with S2 or her Defense skill, pulling S2 and S3 into the freed slots to use repeatedly. Each S1 discarded builds her own Tremor Count, making S2's Tremor Burst and S3's bonus conditions easier to meet. Tremor Burst's effect is determined by the target's Tremor Potency, and her own infliction is limited to S2 (2 Tremor each on Coins Ⅰ and Ⅱ, 1 each at lower Uptie) and S3 (4 Tremor), so pair her with allies who can stack Tremor on enemies. Note that her play changes depending on how well she can discard S1.
A practical guide based on the skill and passive descriptions below.(Updated: 2026-10-18)
SKILLSSkill
S1×3
Wait Up!
WrathSlash
Clash Power
4~114~10 → 4~11
Base Power
4
Coin Power
+7+6 → +7
No. of Coins
1
Skill Level
Identity Lv+1
Attack Weight
1
When this skill is discarded, gain 3/4 Count
On Use Gain 2 Count
Final Power +1/2 at 6+ own Count
ⅠOn Heads Hit/On Hit Push back own Stagger Threshold by own Count (max 10)
Normal Coin Unbreakable CoinMultiple values represent different Uptie tiers; the larger value is for the highest tier. Roman numerals identify which Coin has the effect.
PASSIVESPassives
Combat Passive
Drinking Boast
Sloth ×5Owned
On against an enemy, deal Sloth damage equal to 30% of the Stagger Threshold advance
(max 20, rounded down)
※Unlocked at Uptie Ⅱ; active while deployed in battle
Support Passive
Carrot & Stick
Sloth ×3Owned
The 1 ally with the most Count gains +1 Count from skill effects
※Unlocked at Uptie Ⅲ; active while on the team but not deployed


 ×2.0
 ×1
 Slash